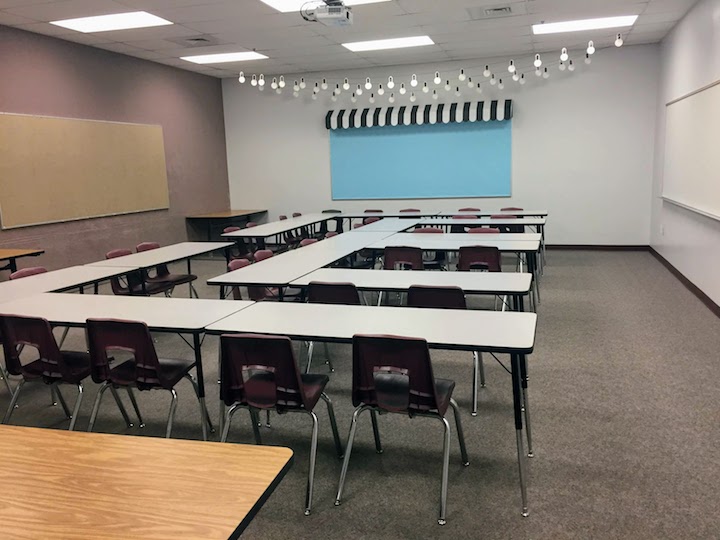
How do you transform a boring, windowless classroom into a fabulous, Frenchy learning space? Just make your own custom awning to turn a bulletin board into a stylish French boutique window!
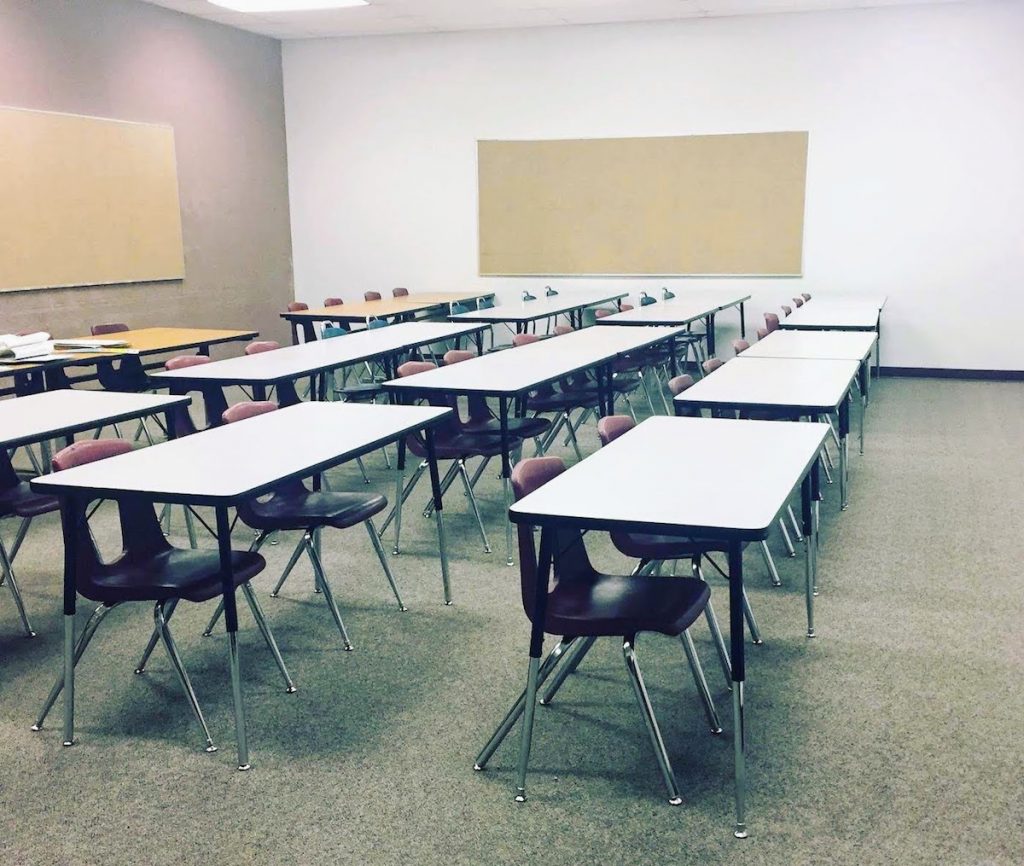
Before & After
Inspiration
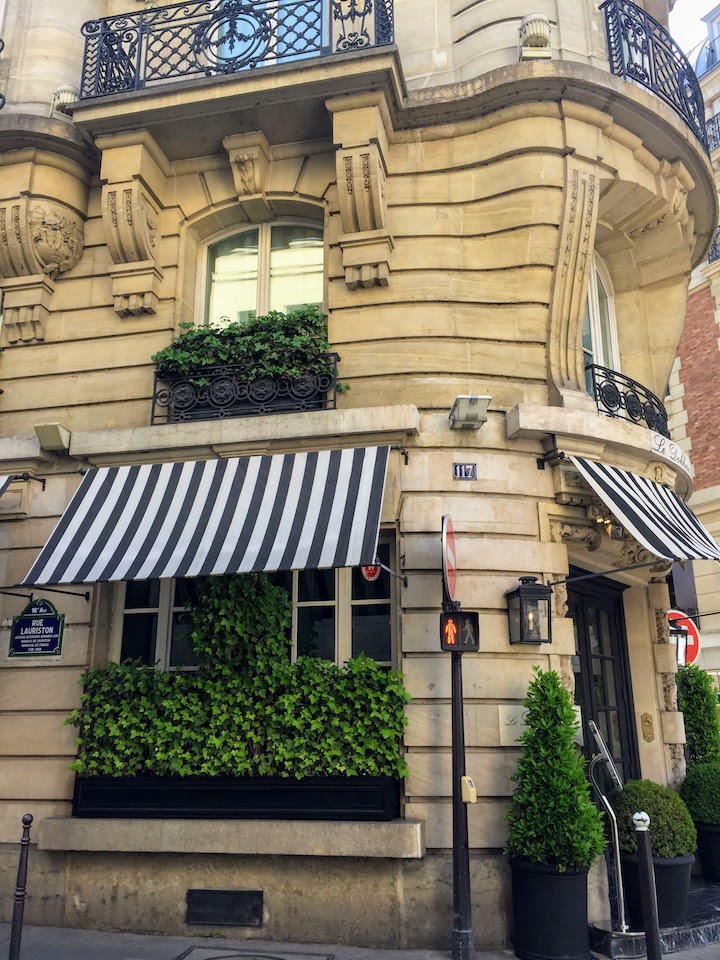
For years I dreamed of what my future classroom would look like, and I always imagined a Paris street scene. While I was studying abroad in Paris, I fell in love with this elegant building with striped awnings and topiary trees. I love the black, white, and green colors, and it’s what inspired the look of my classroom.
I had actually planned to add a window box underneath the bulletin board plus a door next to one side, but I ran out of time, energy, and budget. Unfortunately, I also have to share my room with the Portuguese teacher, so I really had to restrain myself from taking over the entire space!
Supplies
- 6 sheets white poster board
- ready-made paper awning (for template)
- bulletin board paper of choice, one for the “window” and another for the awning. I used this blue one and this striped one.
- border – mine is plain black corrugated border from Michael’s
I bought this paper awning from Amazon. It was only 24″ wide, but my bulletin board is 10 feet wide. So I asked my super-handy husband (thanks, Honey!) to use it as a template for creating a wider version.
In hindsight, it would have been much easier to buy 5 small awnings and tape them together, but at the time, I felt the cost was too much. If I had known it would take us nearly all day to complete this project, I would have gladly spent the extra money!
Directions
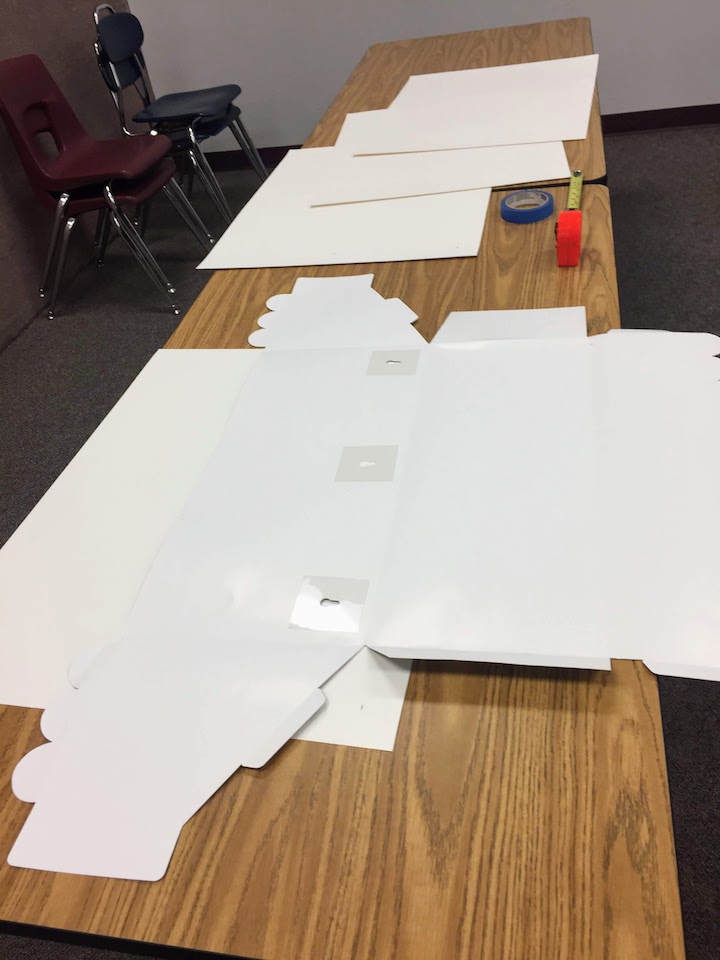
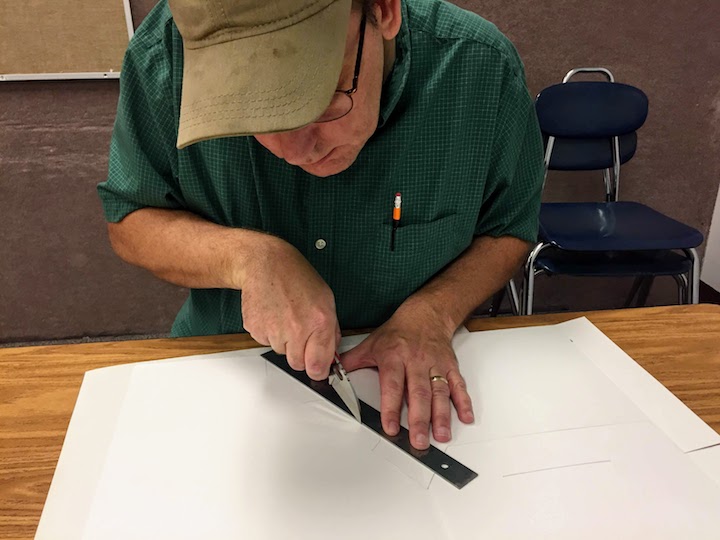
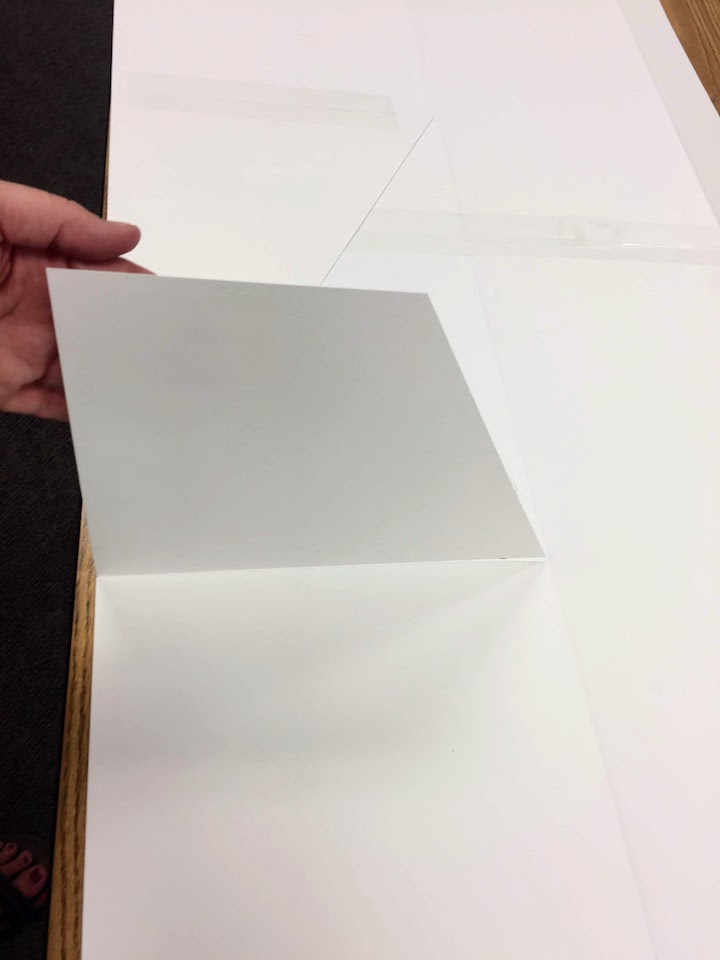
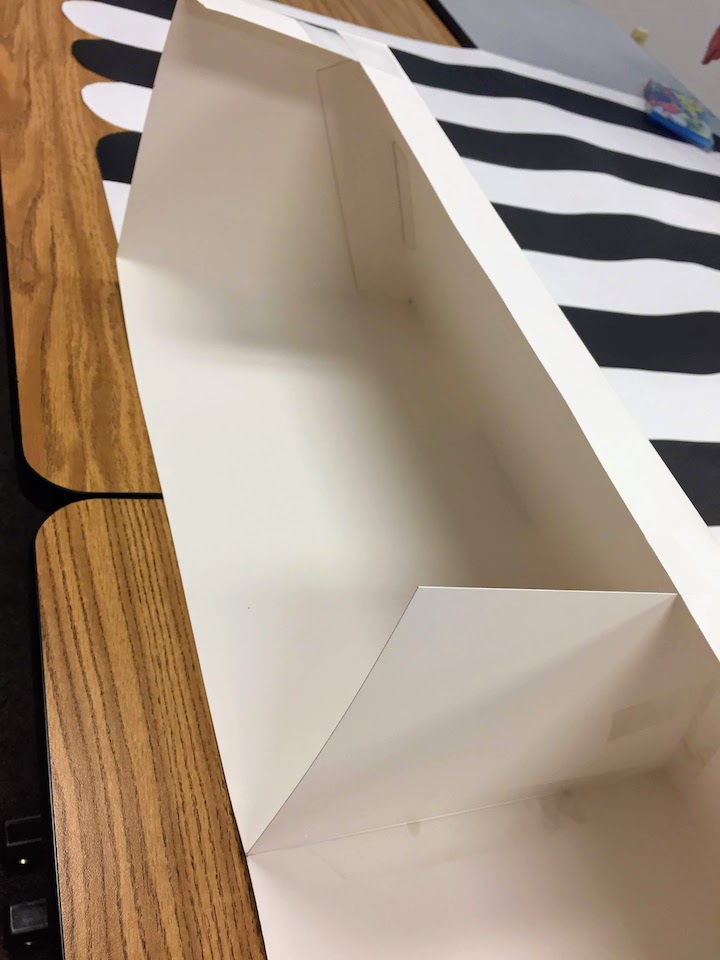
First, tape 5 sheets of white poster board together to equal 10 feet. Trace the side flaps and slots onto each end, then carefully cut or score them, if they will be folded. A metal ruler helps keep cutting lines straight and is also a perfect guide for creating straight folds. Slide the flat side of the ruler across the folded edges to flatten them.
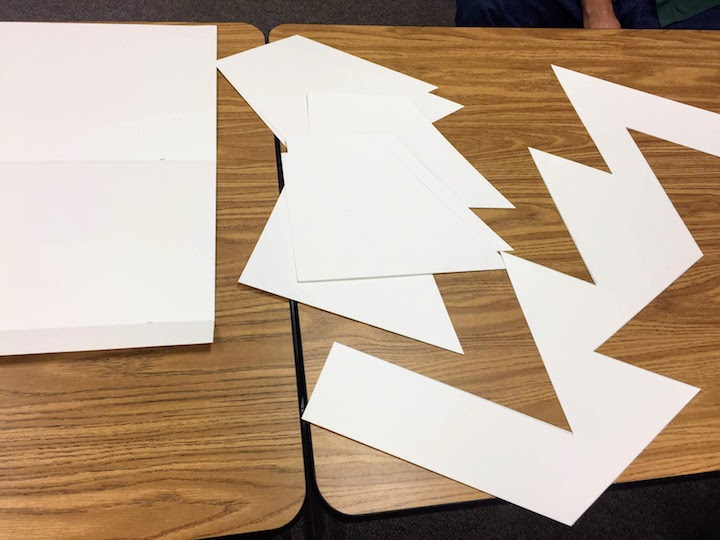
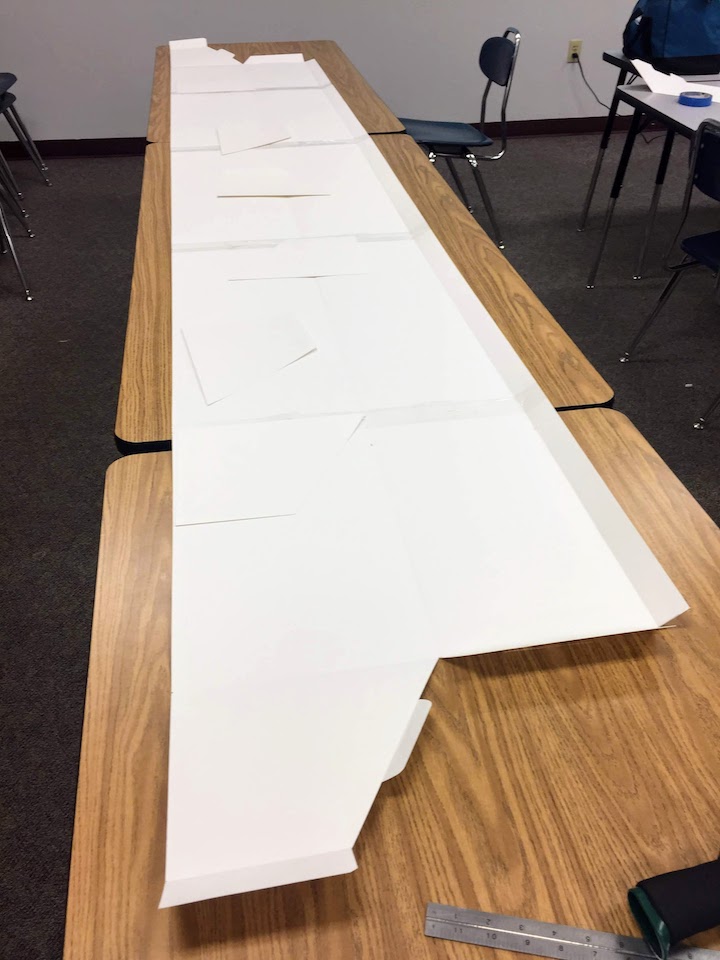
Next, to keep the awning from sagging in the middle, add an extra support piece every 24 inches. The support is the same size as the flap at each end of the awning, but it doesn’t need the tabs or slots. Cut these extra pieces from the remaining poster board.
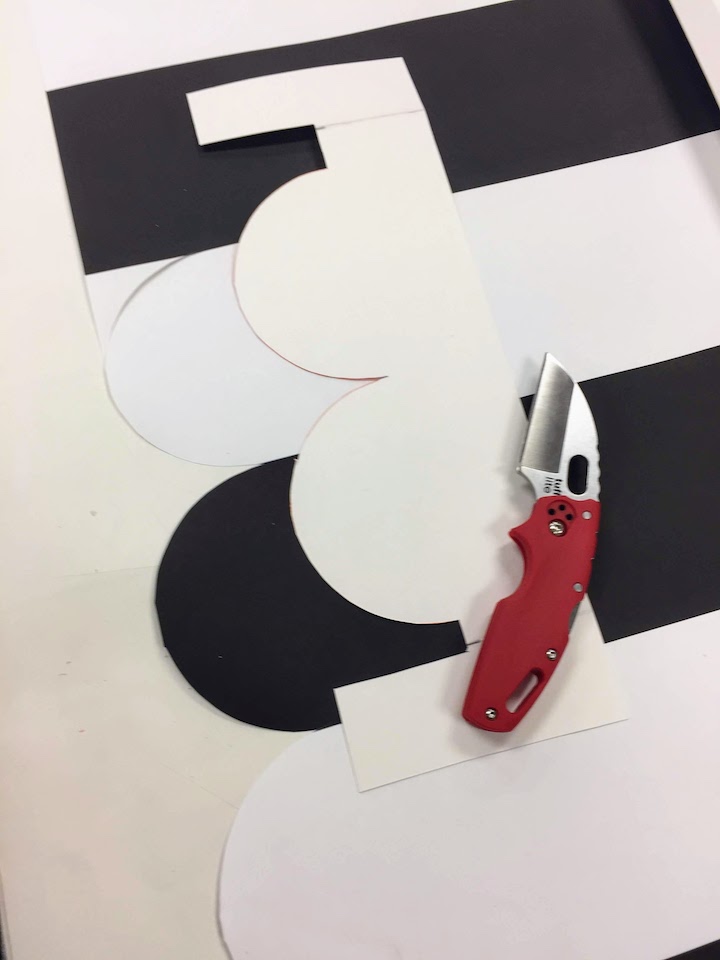
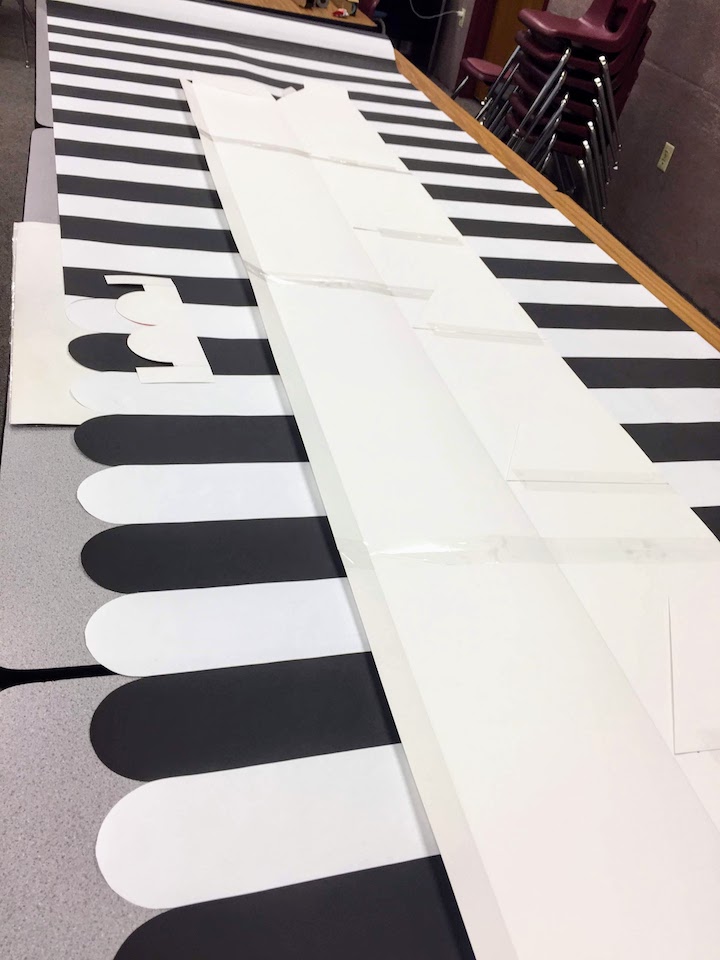
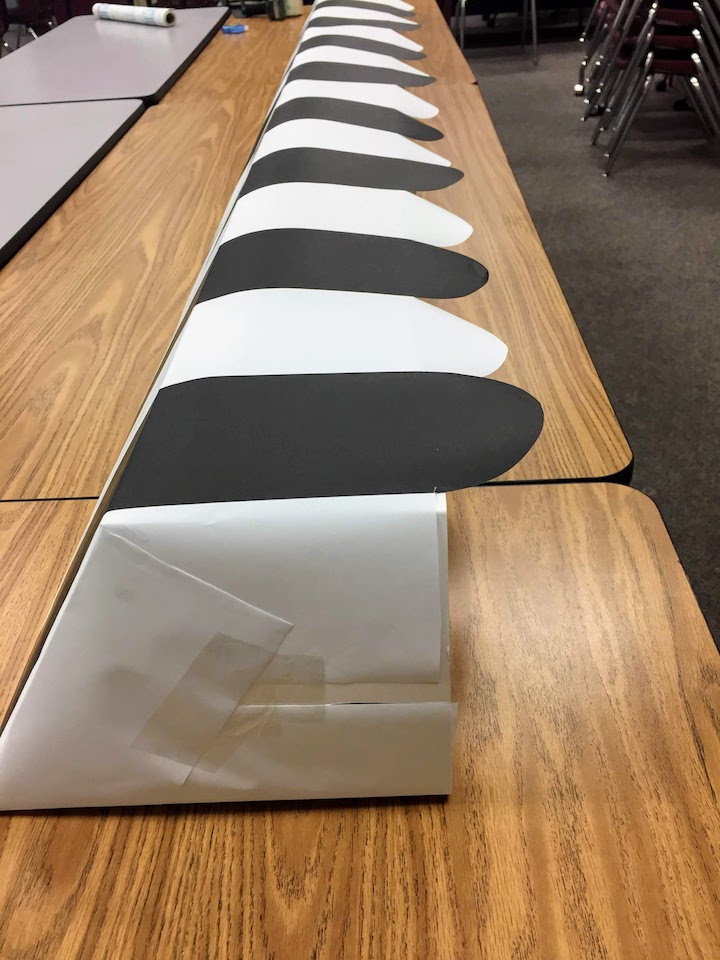
If you want the awning to have scalloped edges, make a template from leftover posterboard scraps and use it to trace onto the striped paper. You could also leave the edge straight, to save time.
Finally, you’re ready to assemble the awning! Secure both ends by inserting the tabs into the slots and taping them. Then tape the support pieces in place as well.
Wrap the striped paper around the awning frame, using double-stick tape to secure the front side, so the scalloped edge can hang free. Overlap and wrap each end like a gift package. To cover up the seams, cut a piece of black construction paper to size and tape it over each end.
Hanging & Decorating
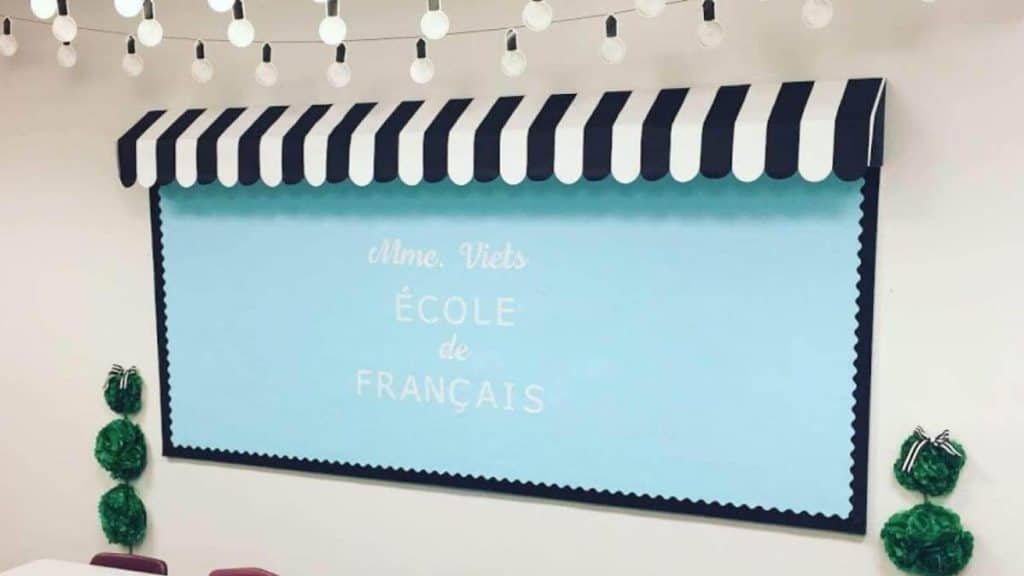
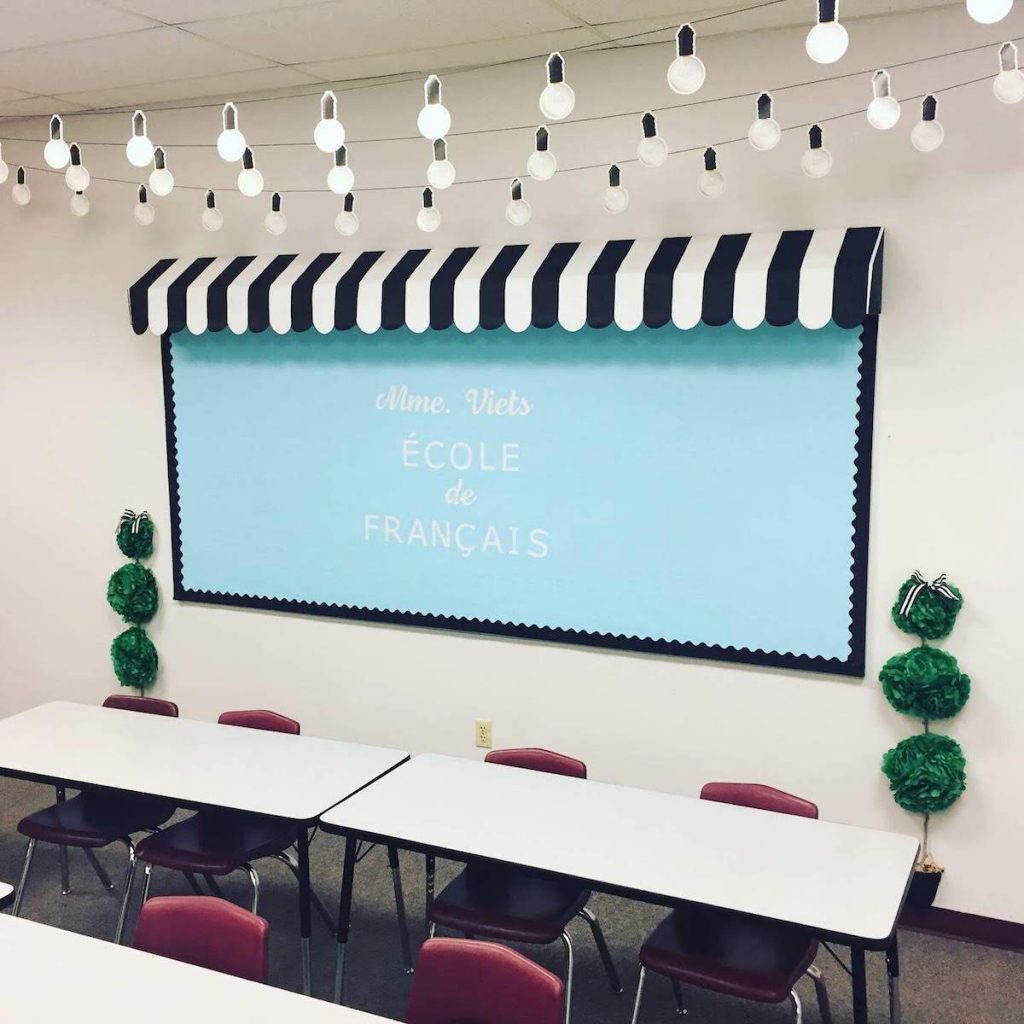
Before hanging the awning, I covered the bulletin board with blue paper, then added the black border. The awning rests on the top ledge of the bulletin board frame, secured with several thumb tacks.
For the first days of school, I wanted to keep the board simple. In keeping with the window look, I added my name in “etched” letters. I typed “Madame Viets – École de français” in the largest typeface that would fit on an 11×17″ page. Then I printed it out on our school copier, using light gray ink on white paper, and cut them out with scissors. Double-stick tape runner is perfect for sticking them.
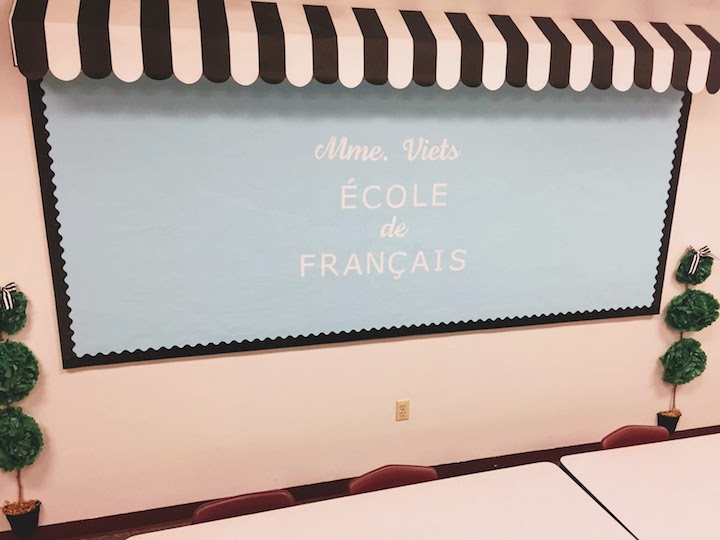
To complete the look, I strung 3 rows of these fantastic paper lightbulbs, and made two tissue-paper topiary trees on either side (separate tutorial post coming soon). Voilà, I love it!
I’ve changed the content a few times, and I love it goes with everything! It coordinated especially well with my Christmas-themed bulletin board. I hope you will try making your own awning to French-ify your room. If you do, I’d love to see how it turns out! Bonne chance !
